Appearance
Primary Conditionals
The Check Condition block lets you branch an automation based on a contact's properties. Contacts who meet your conditions follow the Yes path; contacts who don't follow the No path. You can stack multiple conditions using AND/OR logic to build precise targeting rules.
NOTE
This feature requires FluentCRM Pro. See what's included →
Adding a Condition Block
Open an automation funnel, click the Plus (+) icon between steps, and choose Conditional Action.
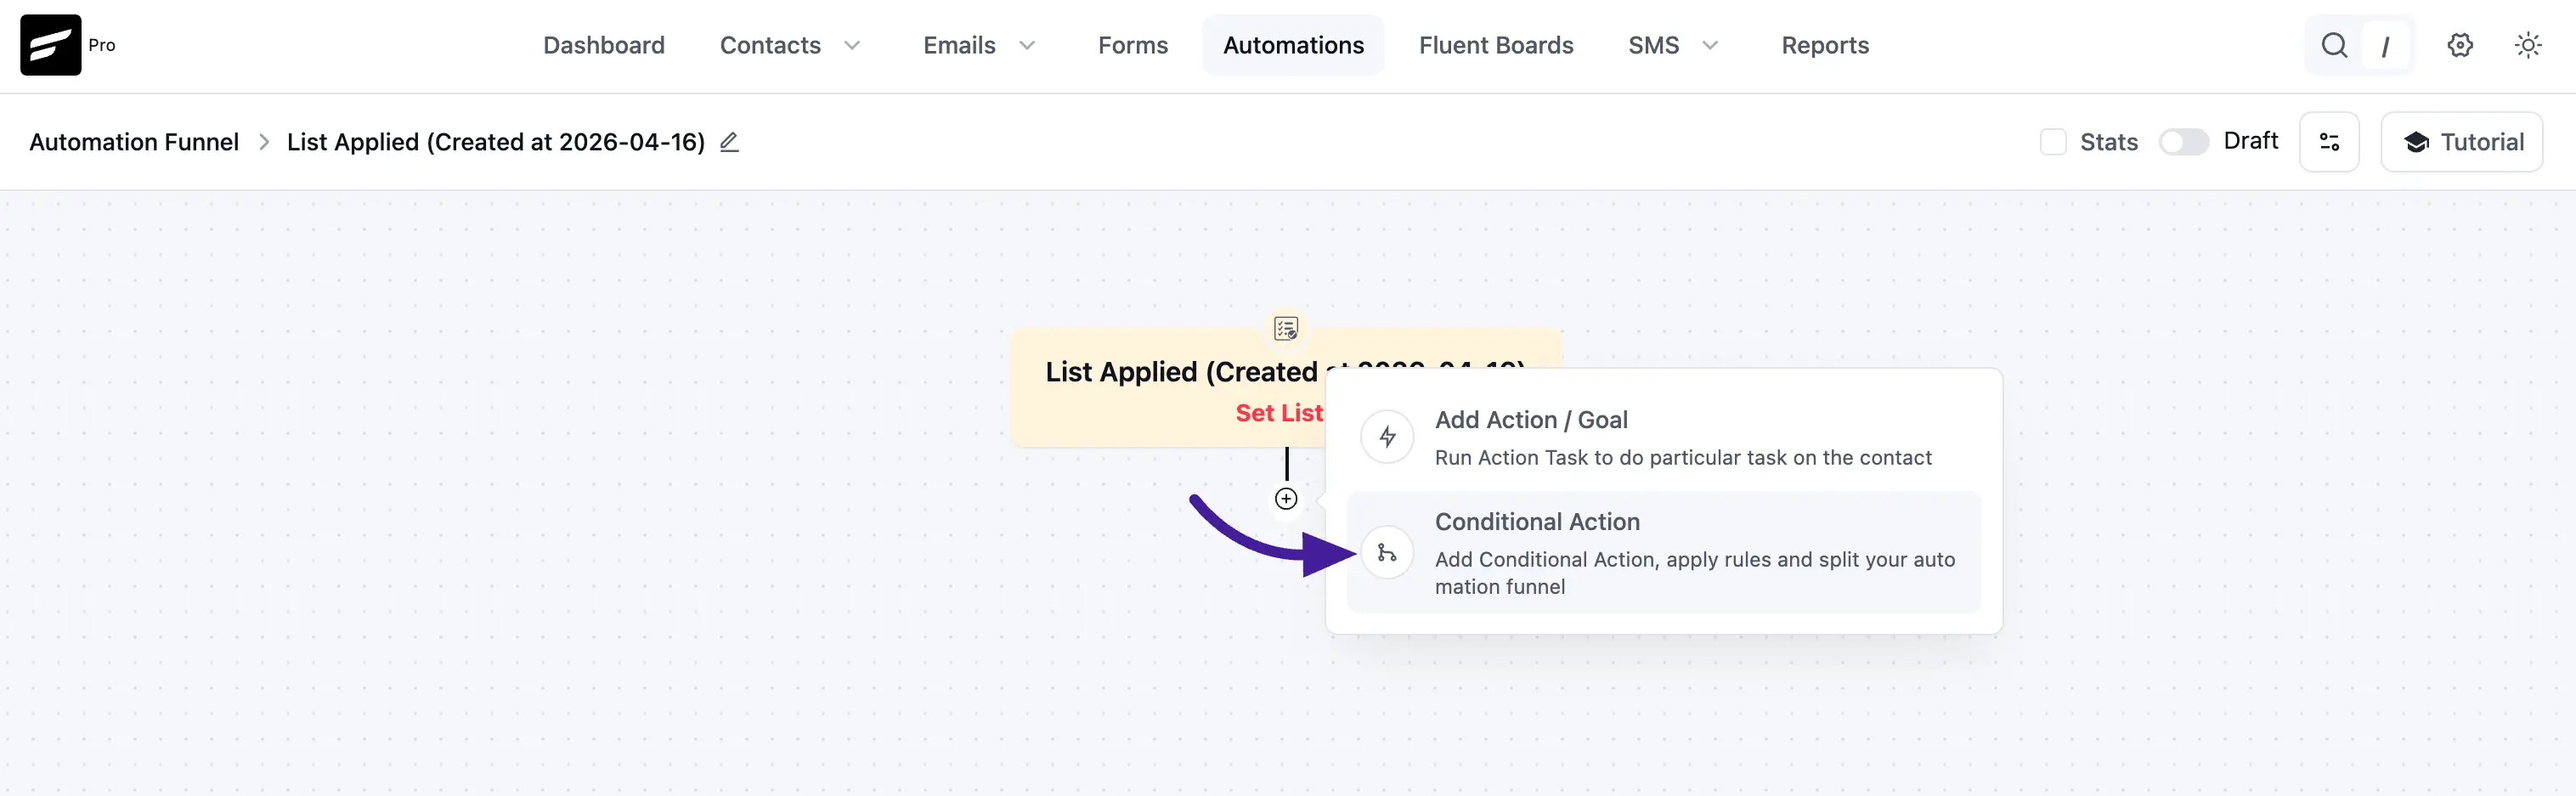
The Check Condition settings panel opens in the left sidebar.
Configuring Conditions
Match Type
At the top of the conditions panel, choose how the block evaluates multiple conditions:
- True if all conditions match — the contact must satisfy every condition (AND logic).
- True if any of the conditions match — the contact only needs to satisfy one condition (OR logic).
Adding Conditions
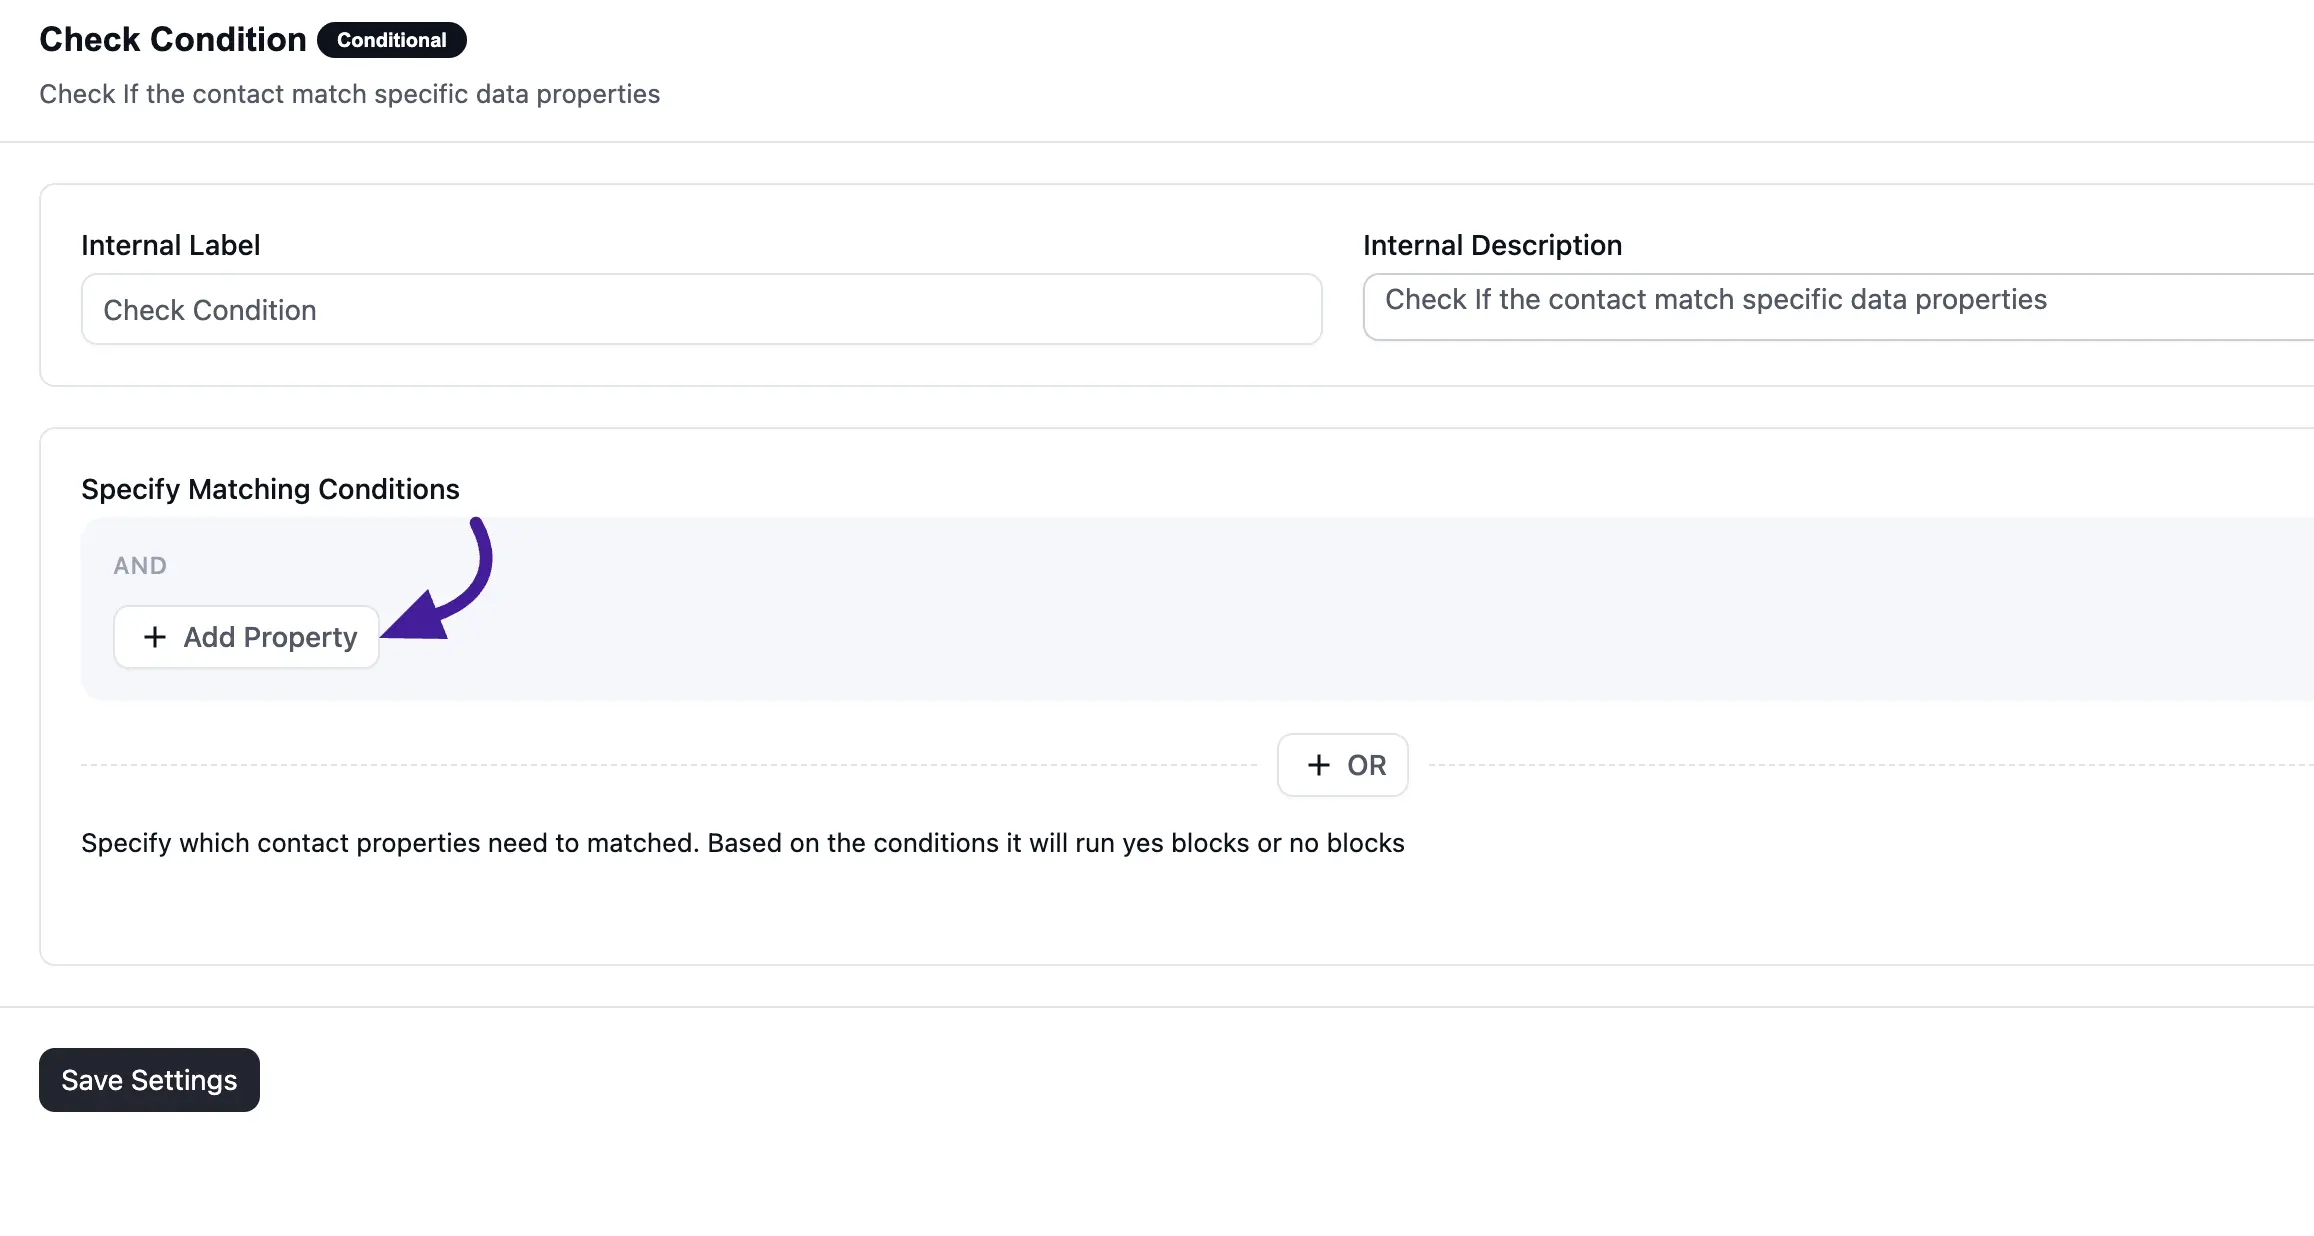
Click + Add to add a condition row. Each row has three parts:
- Parameter — the contact property to check (see Property Types below).
- Operator — how to compare the value (e.g. is, is not, contains, greater than).
- Value — what to compare against.
Click the Trash icon on any row to remove it.
AND / OR Groups
- + Add adds another condition to the current group — all conditions in the group must match.
- + OR creates a new condition group. If any group matches, the overall block evaluates as Yes.
Click Save Settings when finished.
NOTE
Each condition checks the contact's current data when they reach this step. Tags, field updates, and other changes from earlier funnel steps are included.
Condition Property Types
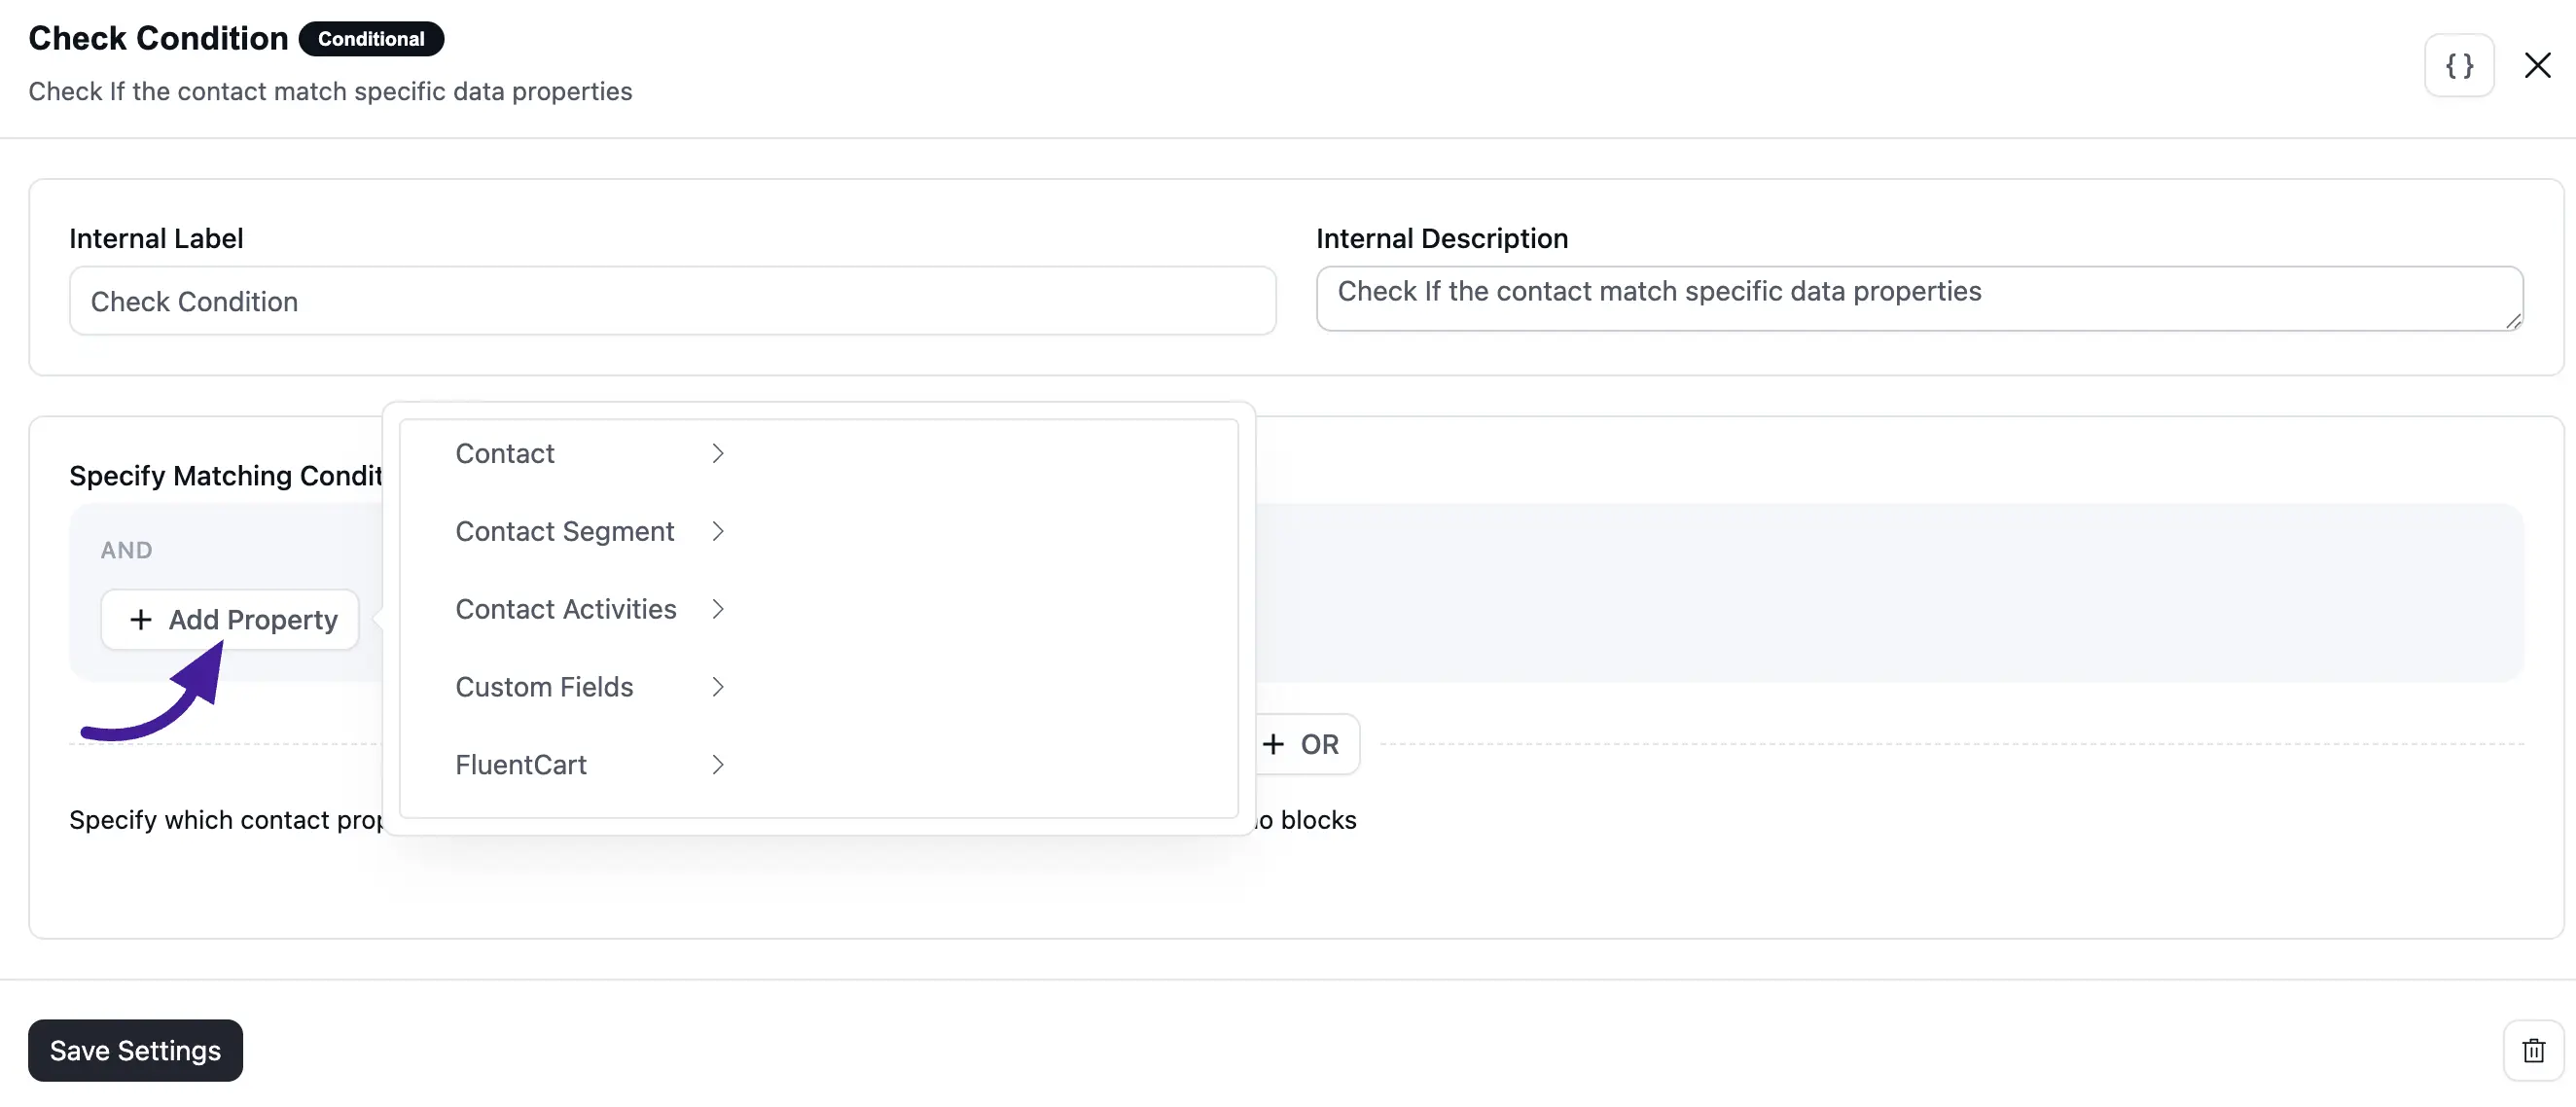
Click + Add to open the property selector. Four categories are available:
1. Contact
Check any standard contact field:
- First Name, Last Name, Email
- Address Line 1, Address Line 2, City, State, Postal Code, Country
- Phone, WP User ID, Type, Name Prefix
- Date of Birth, Last Activity, Created At
2. Contact Segment
Check list and tag membership or WordPress role:
- Tags
- Lists
- WP User Role
3. Contact Activities
Check email engagement history:
- Last Email Sent
- Last Email Clicked
- Last Email Open (approximate)
4. Custom Fields
Any custom fields you have defined in FluentCRM appear here automatically. To add custom fields, see Custom Contact Fields.
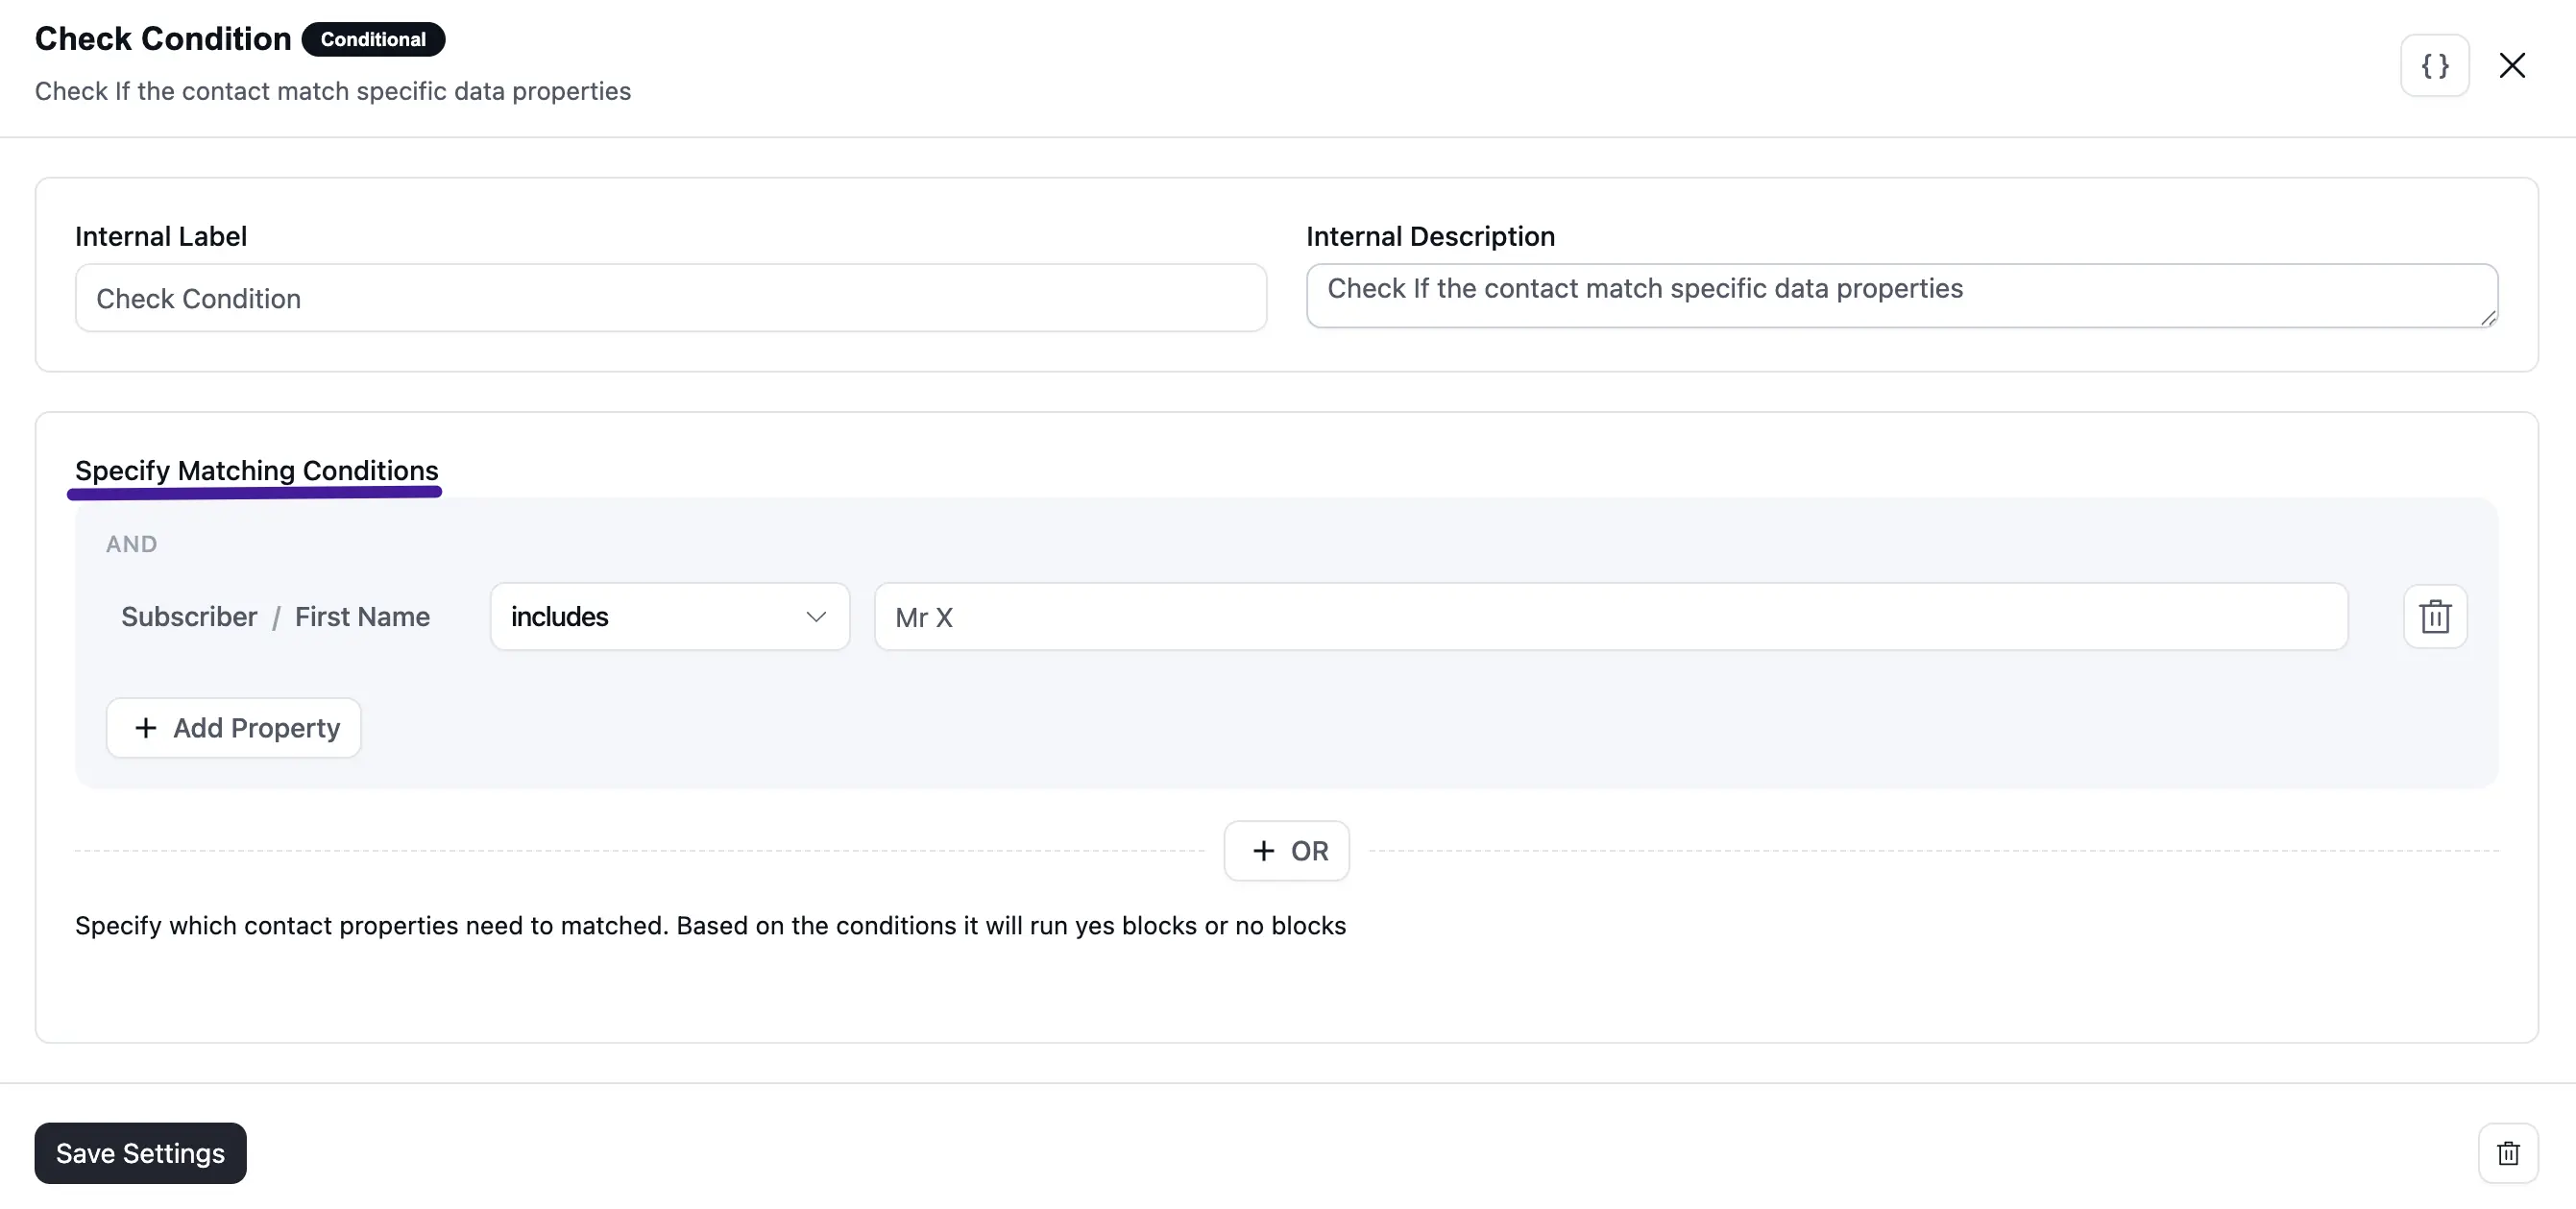
Setting a Condition — Example
Select First Name (Contact → First Name) as the parameter, choose includes in as the operator, and enter the value. Only contacts whose first name matches will take the Yes path.
Setting Actions on Each Path
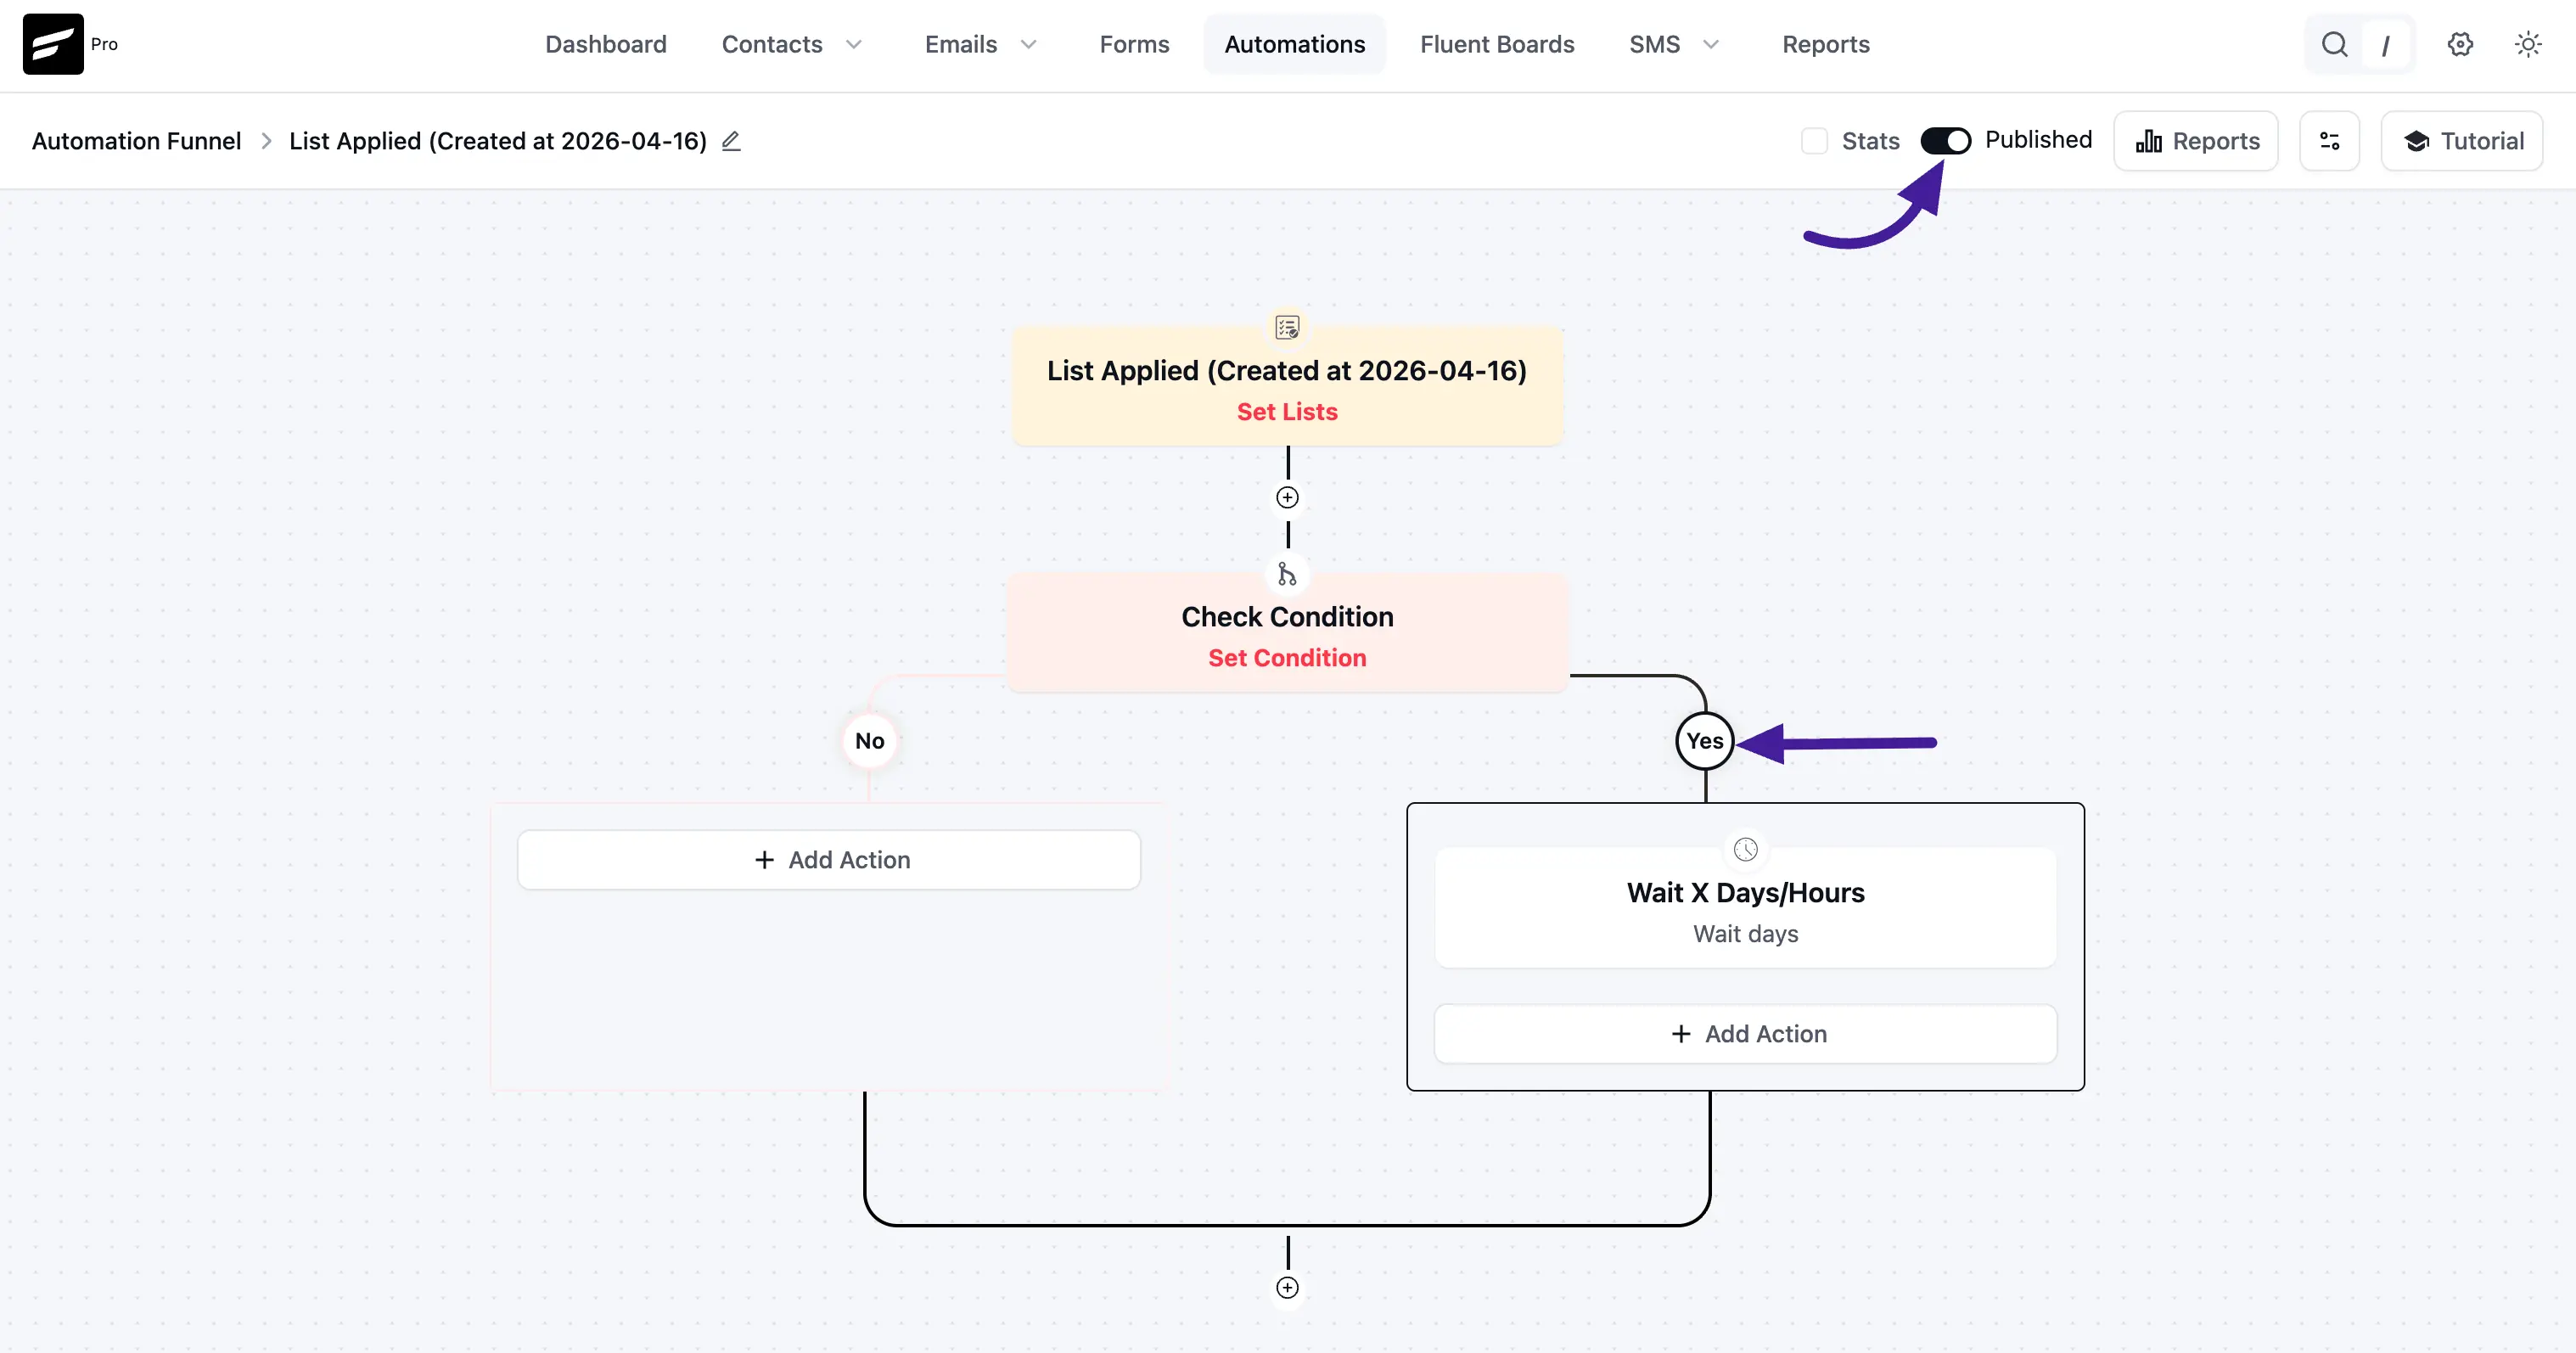
After saving the condition block, two branches appear in the funnel canvas:
- Yes — actions here run when the contact meets your conditions.
- No — actions here run when the contact does not meet your conditions.
Click + Add Action under either branch to add steps. You can mix any action type on both paths.
For a full list of available actions, see Primary Actions, Email Actions, Goals/Benchmarks, WordPress Actions, LMS Actions, WooCommerce Actions, and Miscellaneous Actions.
When the funnel is ready, enable the Publish toggle to make it live.